Hello – it’s been a while. If you’ve been wondering what I’ve been up to – well, I’ve still been cooking and teaching. I just haven’t been writing about it. In fact, in a few week’s time I’ll be hosting my first Honey Cake Baking workshop. Honey Cakes are one of my favourite desserts. They also look very impressive with their layers of biscuit sponge and cream. I approached my friend Olga to teach me how to make them and she’s now ready to share her secret family recipe! So if you’re interested in doing any one of the workshops I have planned or wanting to try some of my recipes, please subscribe to receive my updates (if you haven’t already)… ok now on to the cookie recipe.
Yes, I know. It is quite bold of me to say that this is the only corn cookie recipe you’ll ever need. You may question my credentials – what makes me the cookie expert, or more specifically, what makes me an expert on corn cookies? Truth be told, I have never actually eaten one other than the one I made so there is actually no way to verify the claim – unless of course you try to make this and prove me wrong. Go on…
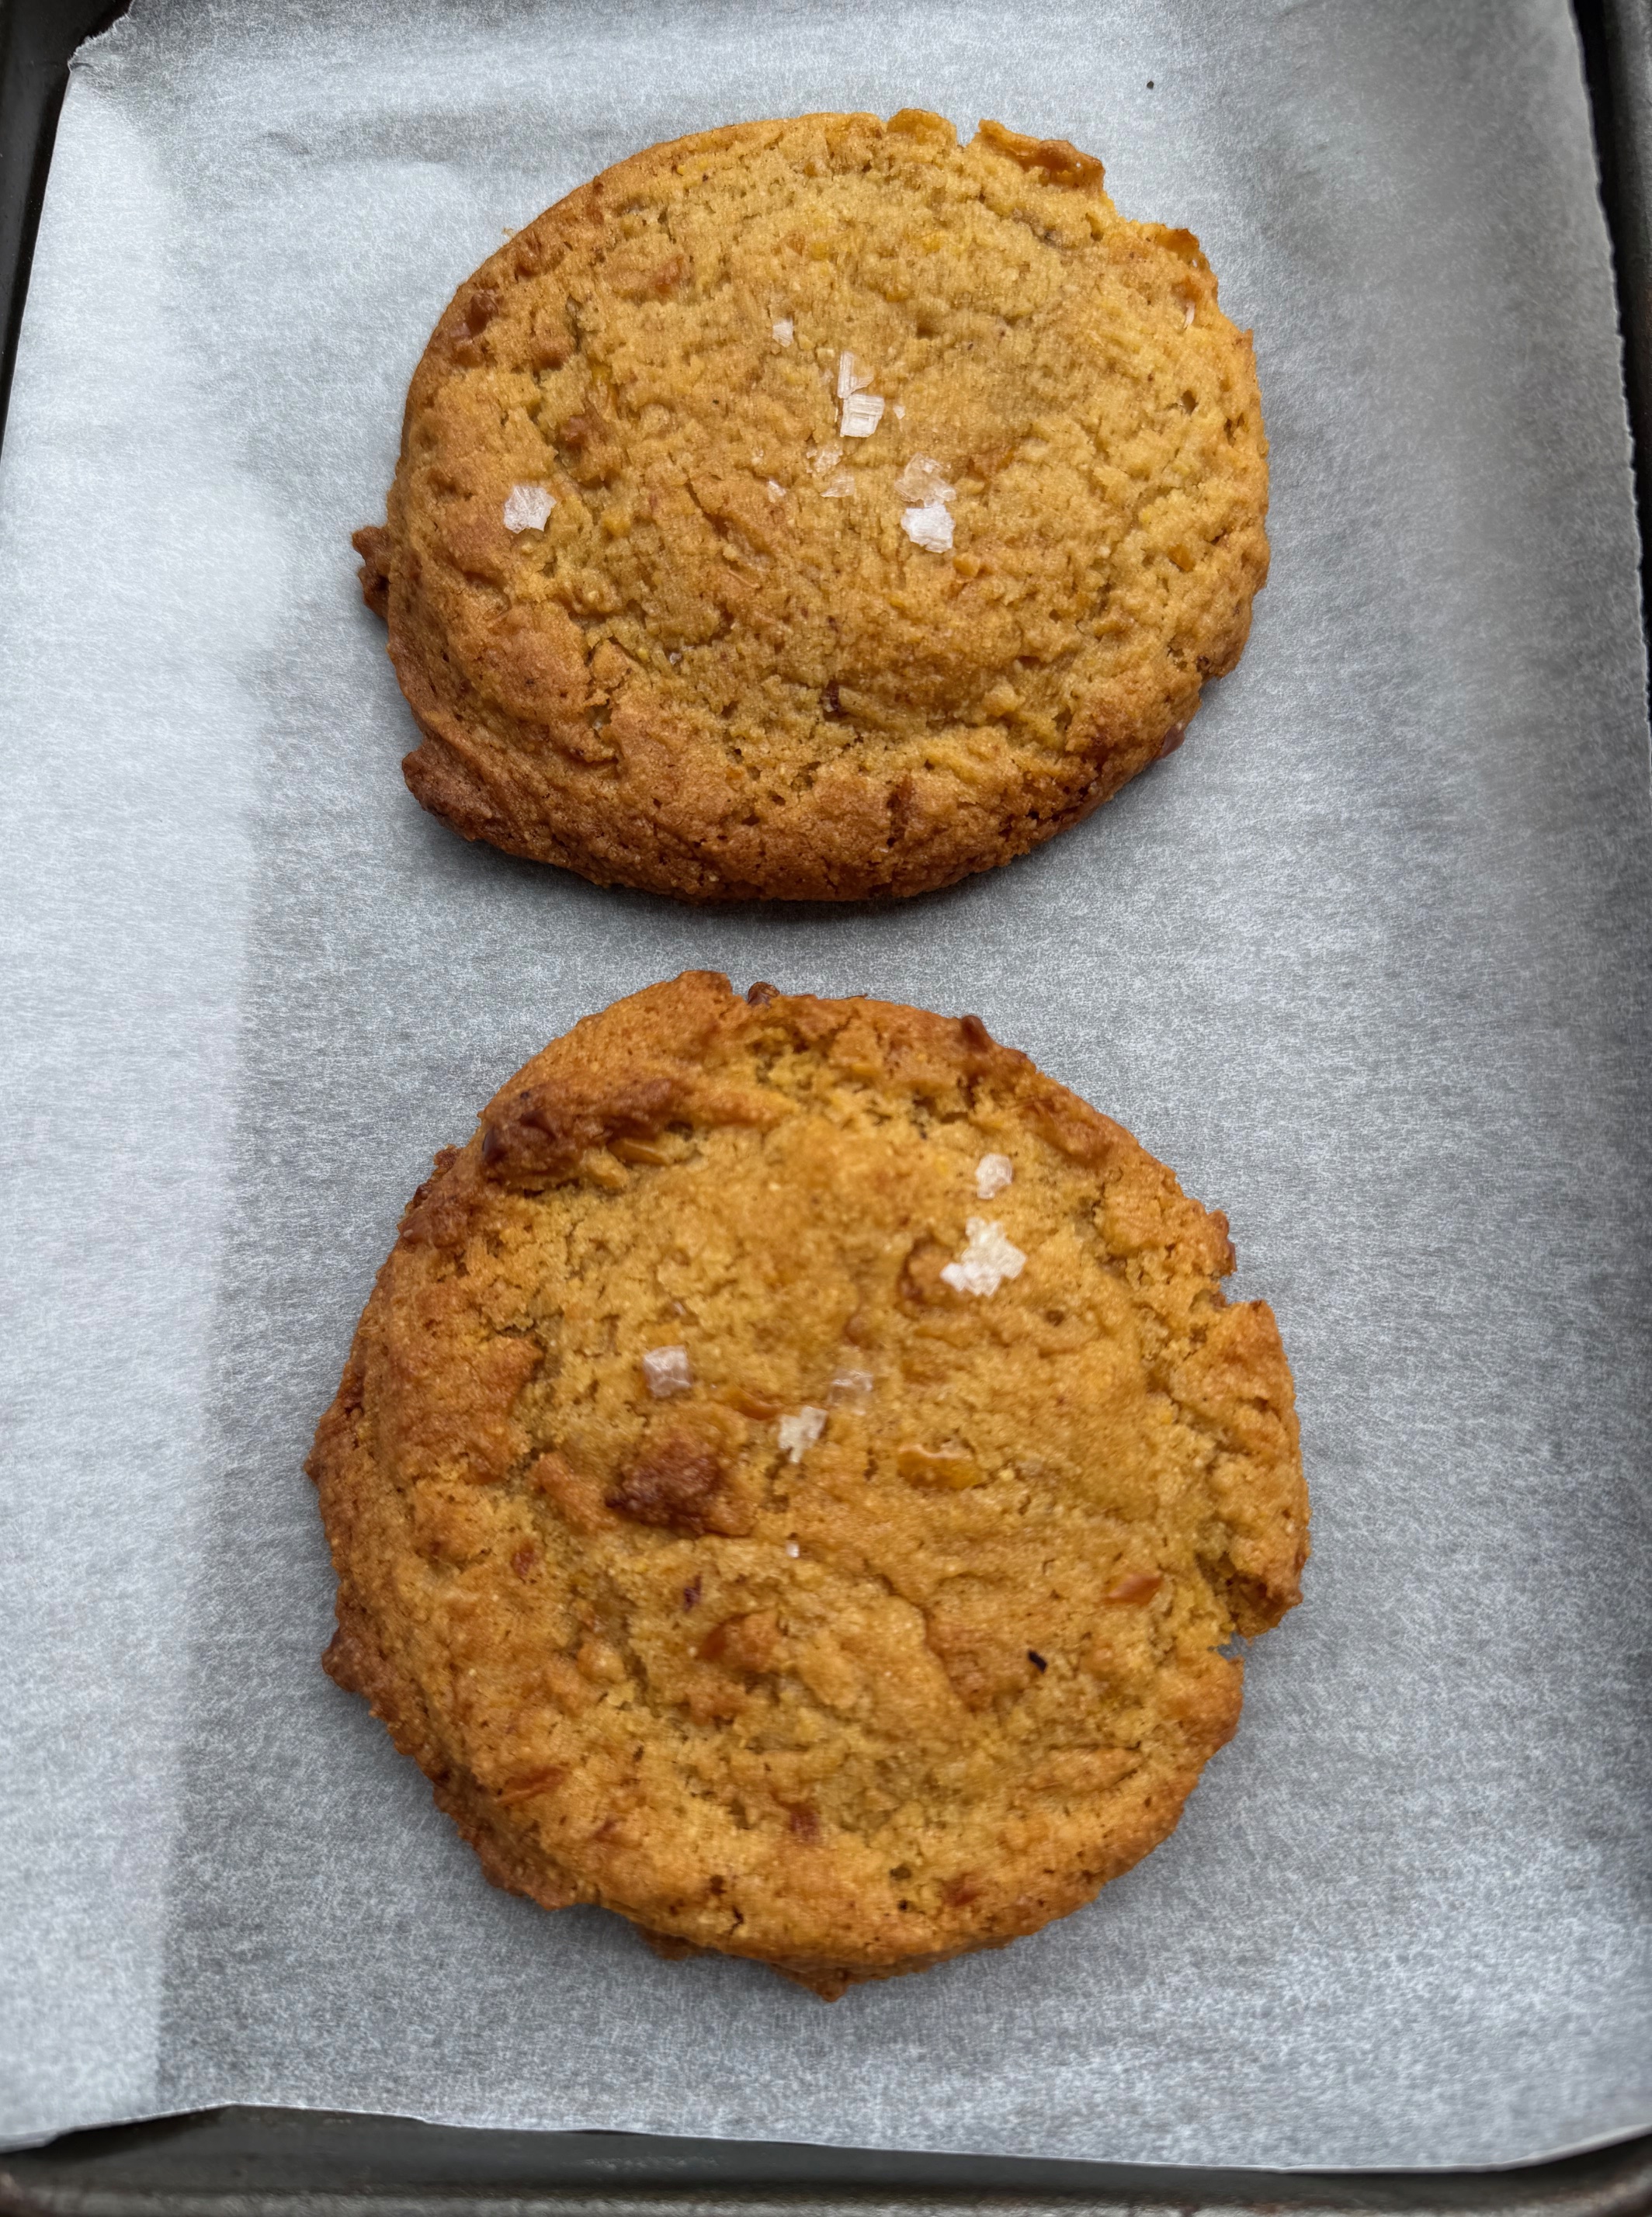
The idea of this cookie came from my Instagram feed. I understand this was once a viral cooking but I am probably late to the party as I have been on and off Instagram for a couple of years. However, when this cookie hit my feed I knew – they would be a winner! They looked sooo good. The recipe that looked most promising was from Easy Gay Oven but it was behind a Substack paywall. There is also a widely available recipe from Christina Tosi (of Milk Bar) but the recipe was in volume measurements (something about measuring in cups and “sticks” of butter just makes me sad) and it required freeze dried corn which is notoriously difficult to source in Australia.
So the only viable option was to come up with my own version. So here it is – for free and made with ingredients you can easily source.
What makes this the perfect corn cookie?
To start, a perfect corn cookie would obviously have to have slightly crispy edges and a chewy center. Using brown butter plus extra non-fat milk powder boosts the nutty like taste that I adore in cookies. Think of eating a very decadent corn bread but only the best parts which is, of course, the edges.
The most involved process in this recipe is shucking the corn, pureeing it and sauteing it until you get a very concentrated pulp of corn. That is the best way I’ve found that develops the corn flavour. I’ve also added some corn meal/polenta to the batter in place of some flour.
Brown Butter Corn Cookie Recipe
Ingredients
- 1 ear of corn, shucked
- 15 grams non-fat milk powder, toasted in a 170 c oven for 10 minutes until golden
- 130 grams + 20 grams butter
- 100 grams caster sugar
- 50 grams brown sugar
- 1 egg at room temperature
- 5 grams vanilla paste
- 140 grams all purpose flour
- 80 grams corn meal/polenta flour
- 3/4 teaspoon baking soda
- 1/2 teaspoon baking powder
- 1/4 teaspoon salt
Instructions
- Start by making the corn puree. Place the shucked corn in a food processor and puree until mushy.
- Place the corn puree and the 20 grams of butter in a sauce pan and cook over medium heat, stirring constantly so that the bottom of the pan does not scorch. After around 10 to 15 minutes when the puree has thickened, set it aside to cool.
- Place the 130 grams of butter in a separate sauce pan and cook over medium heat until the butter starts to foam and you smell a somewhat nutty, toasted aroma and see bits of brown sediment at the bottom of the pan. Be careful not to burn the sediment as adding it when it is burned would make it bitter. Set aside to cool around 15 minutes.
- In a bowl combine the butter and two sugars and whisk. Add the egg and vanilla and whisk again. Now add in the corn puree.
- Add the dry ingredients, milk powder, the flours, baking soda, baking powder and salt.
- Place the bowl in the refrigerator for around 30 minutes before portioning. Don’t be tempted to leave it any longer as it might harden to a stage where it would be too difficult to portion (the butter will solidify while in the fridge).
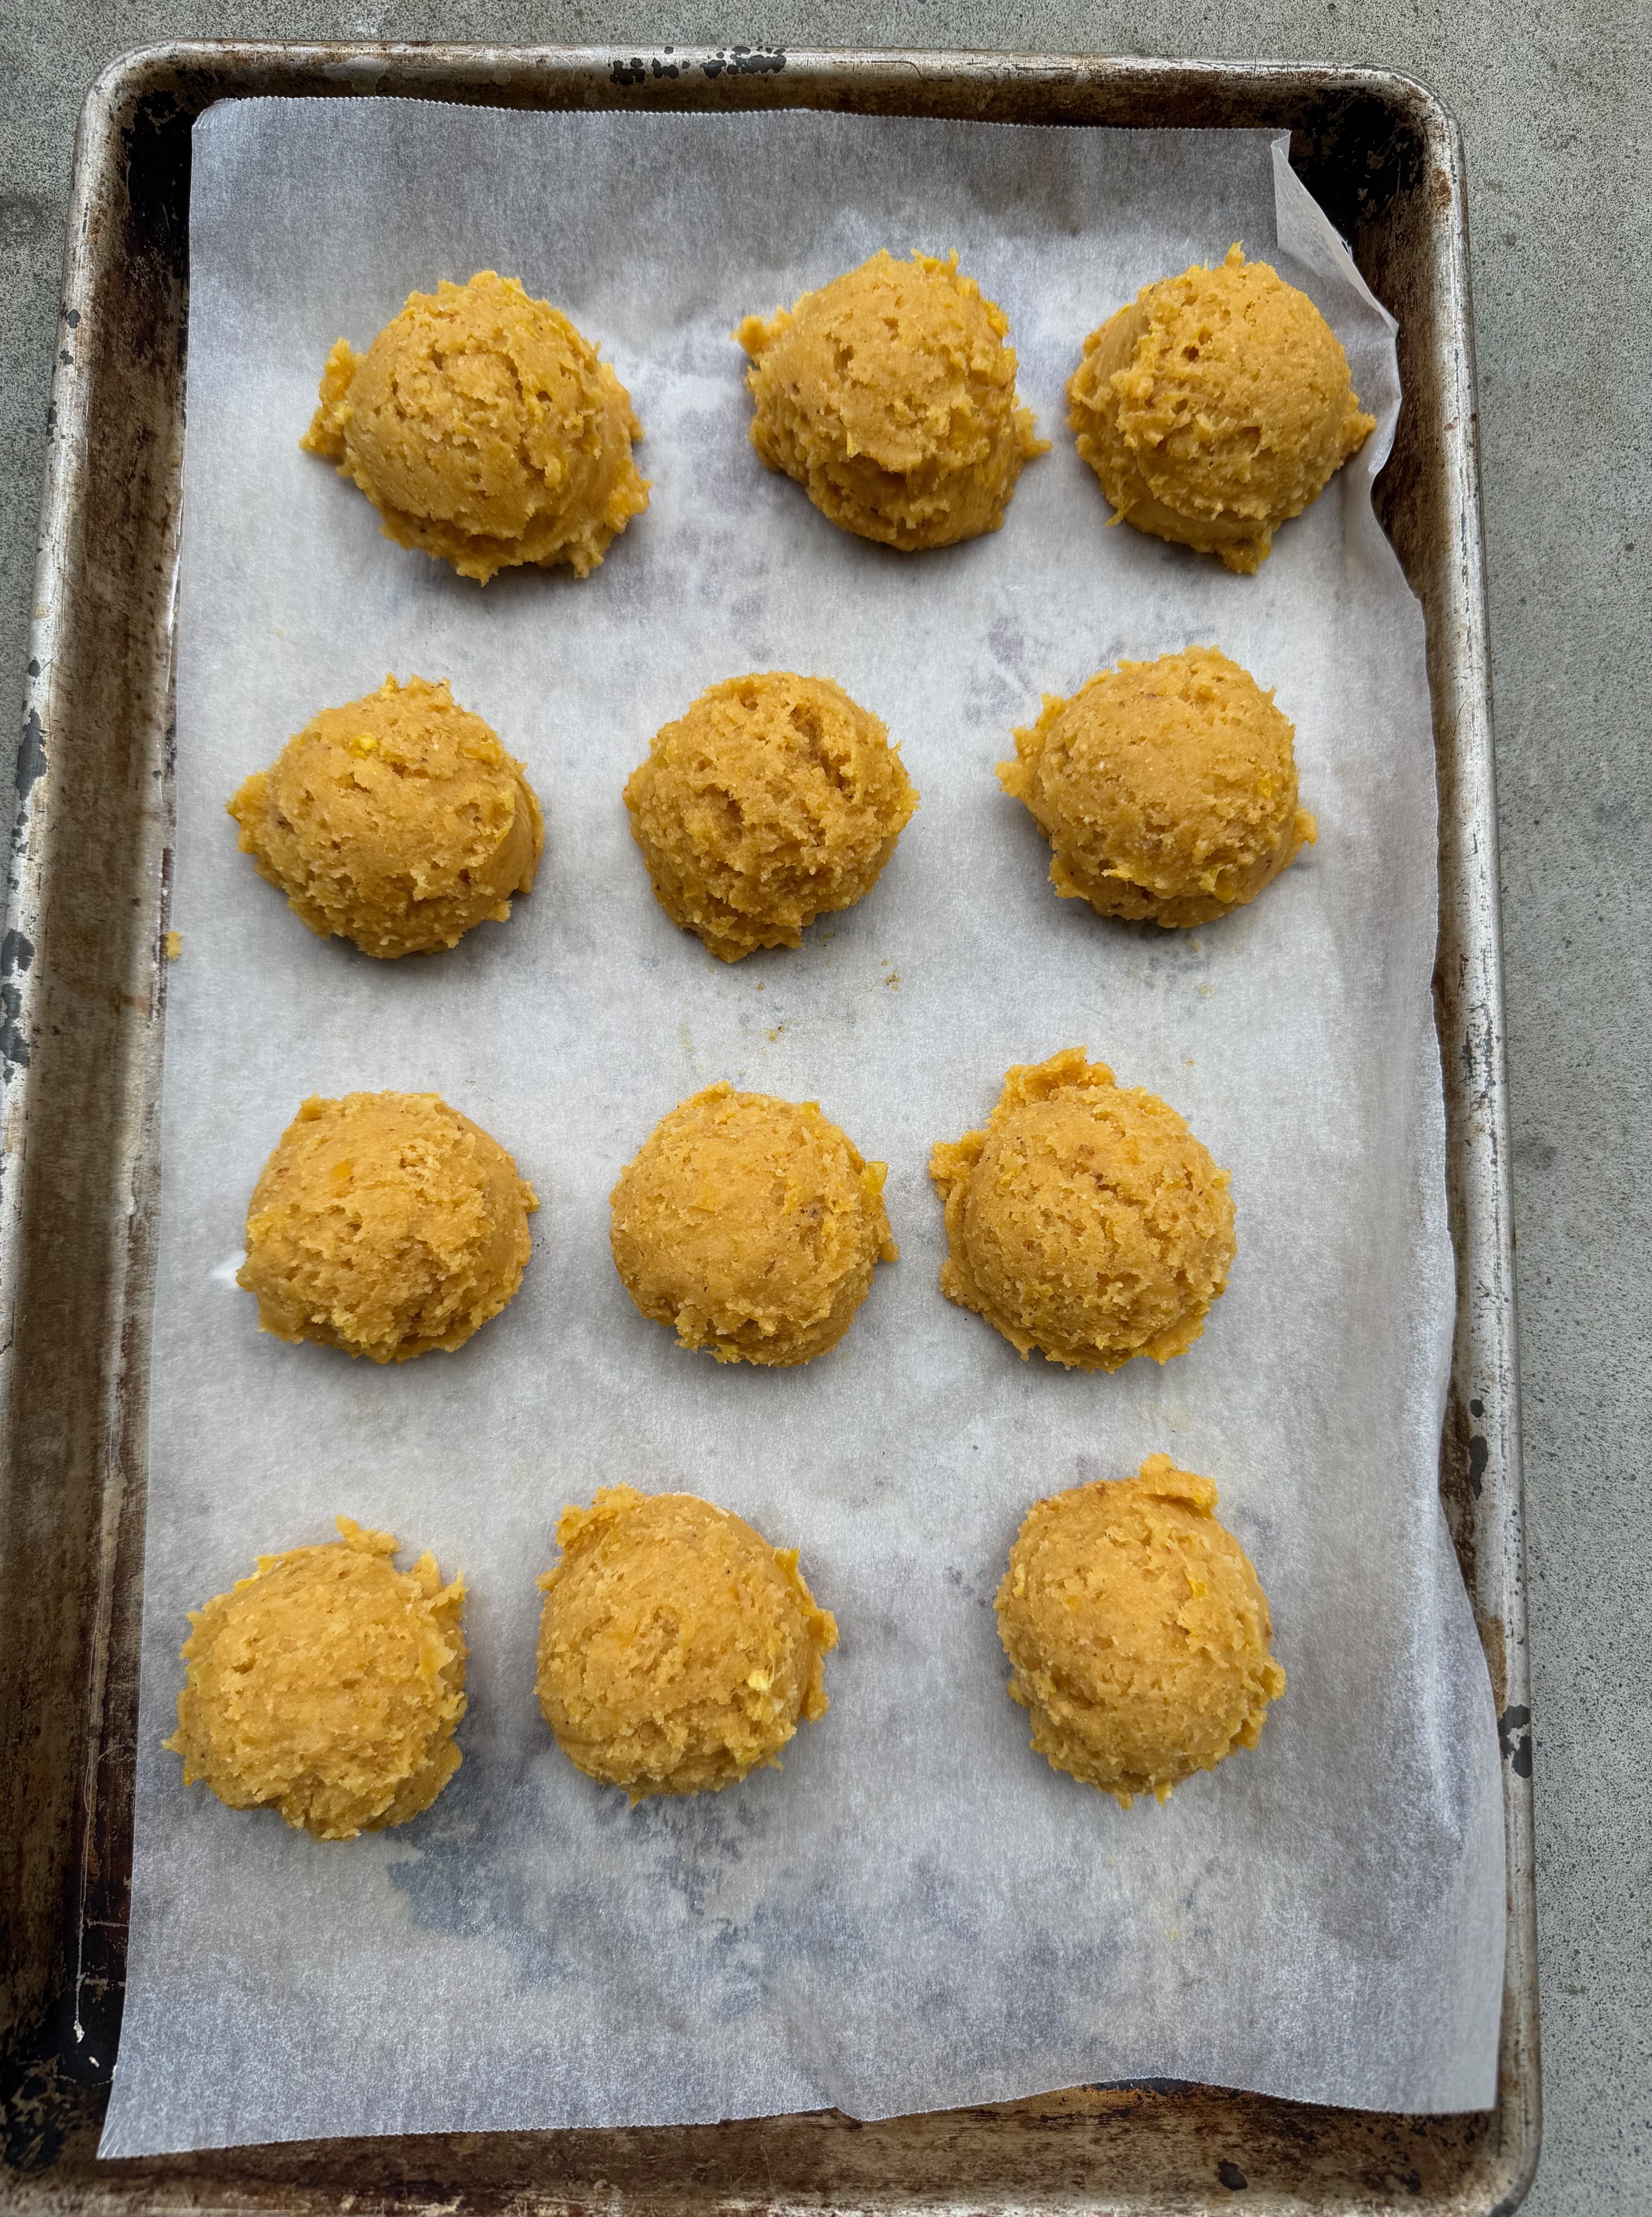
- Portion the cookies on a tray into 45 to 50 gram balls. It is easier to use an ice cream scoop but feel free to also just use your hands and a spoon. Once again, place the cookies back in the fridge for at least 30 minutes but I have left it up to a day without issues.
- When ready to bake, pre-heat your oven to 175 c. Bake the cookies for 15 to 17 minutes until the sides are slightly darker than the center. I like to flatten the cookies when they come out of the oven using the bottom of a glass. Optional but highly recommended, sprinkle with some flaky sea salt.
- Allow to cool then serve.
Note:
This recipe is so good that I normally make a double batch and keep a few shaped balls (step 7) in the freezer. If you’re storing them in the freezer, increase the baking time by around 3 minutes when baking from frozen.
Honey Cake Workshop
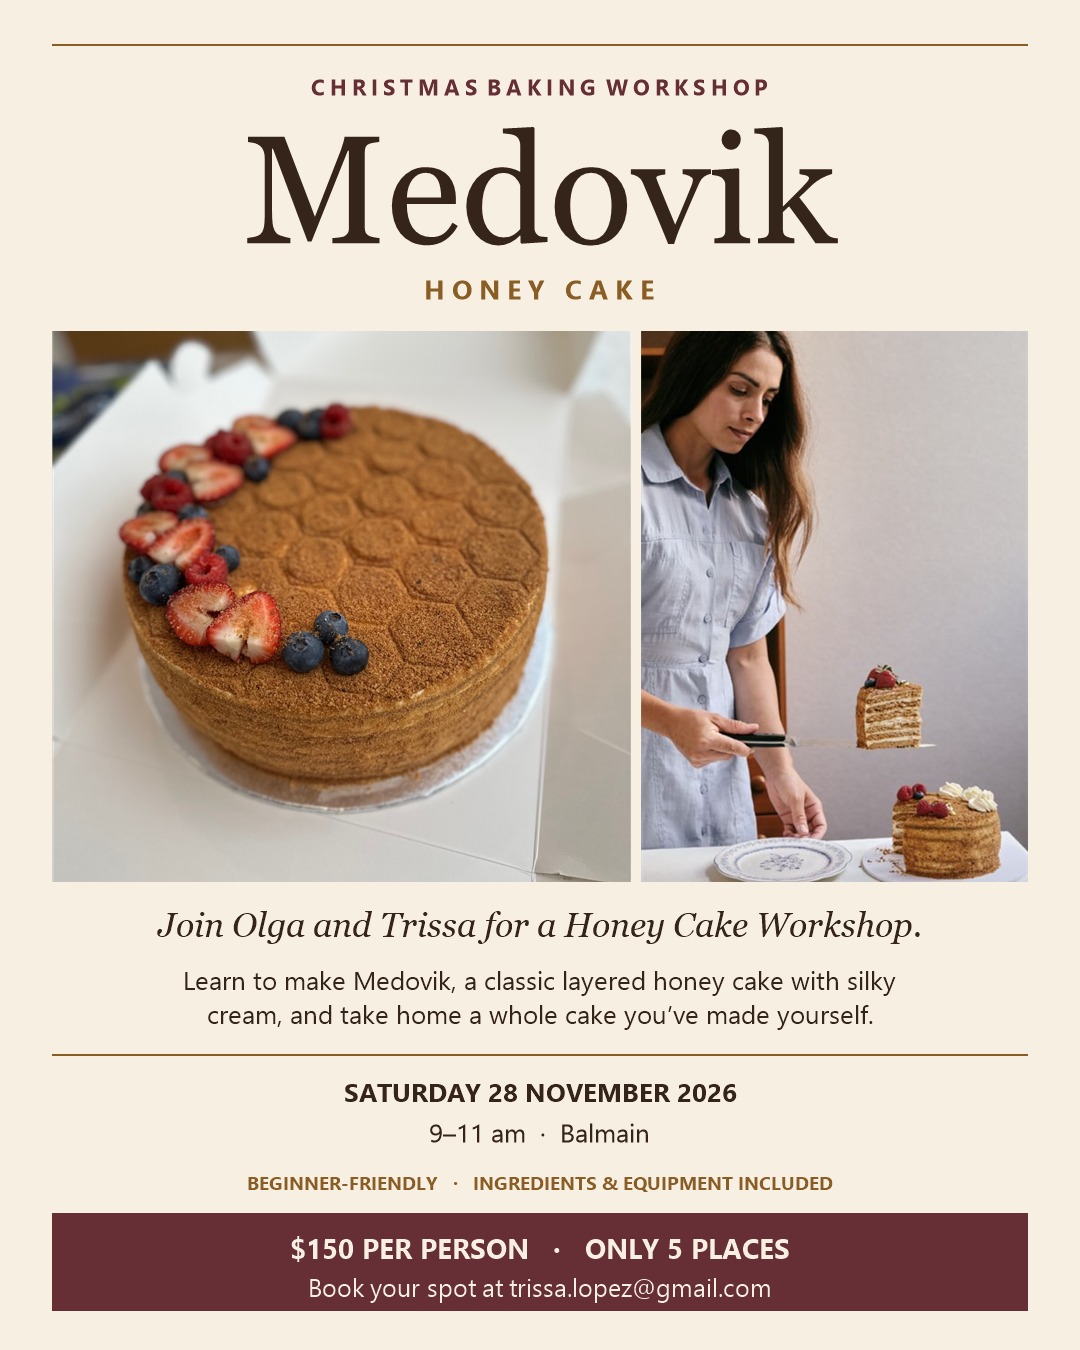
Olga and I will be teaching our very first Honey Cake workshop on the 28th of November. The response has been so popular that we are looking to do this more regularly. If you’re interested in knowing when the next workshops are coming up, please don’t forget to subscribe to Trissalicious.com


